
How To Get The Winged Eyeliner Right And Other Eyeliner Tips
Eyeliner can make or break your makeup look, let’s admit that one! And winged eyeliner at that is even more difficult to achieve. But if you are wondering how to get winged eyeliner right, look no further than this blog. Winged eyeliner tips can honestly be total life and time savers! When it comes to nailing some of the trickier beauty skills, such as applying the perfect foundation, or perfecting your brow shape, any simple hacks always make a world of difference to your finished look. As professional makeup artists we apply eyeliners to a dozen people as well as ourselves almost on a daily basis. But even we started off somewhere, right? So you can be rest assured that our eyeliner lips to get the wing right are not only tried and tested but also make the application process a tear-free experience!
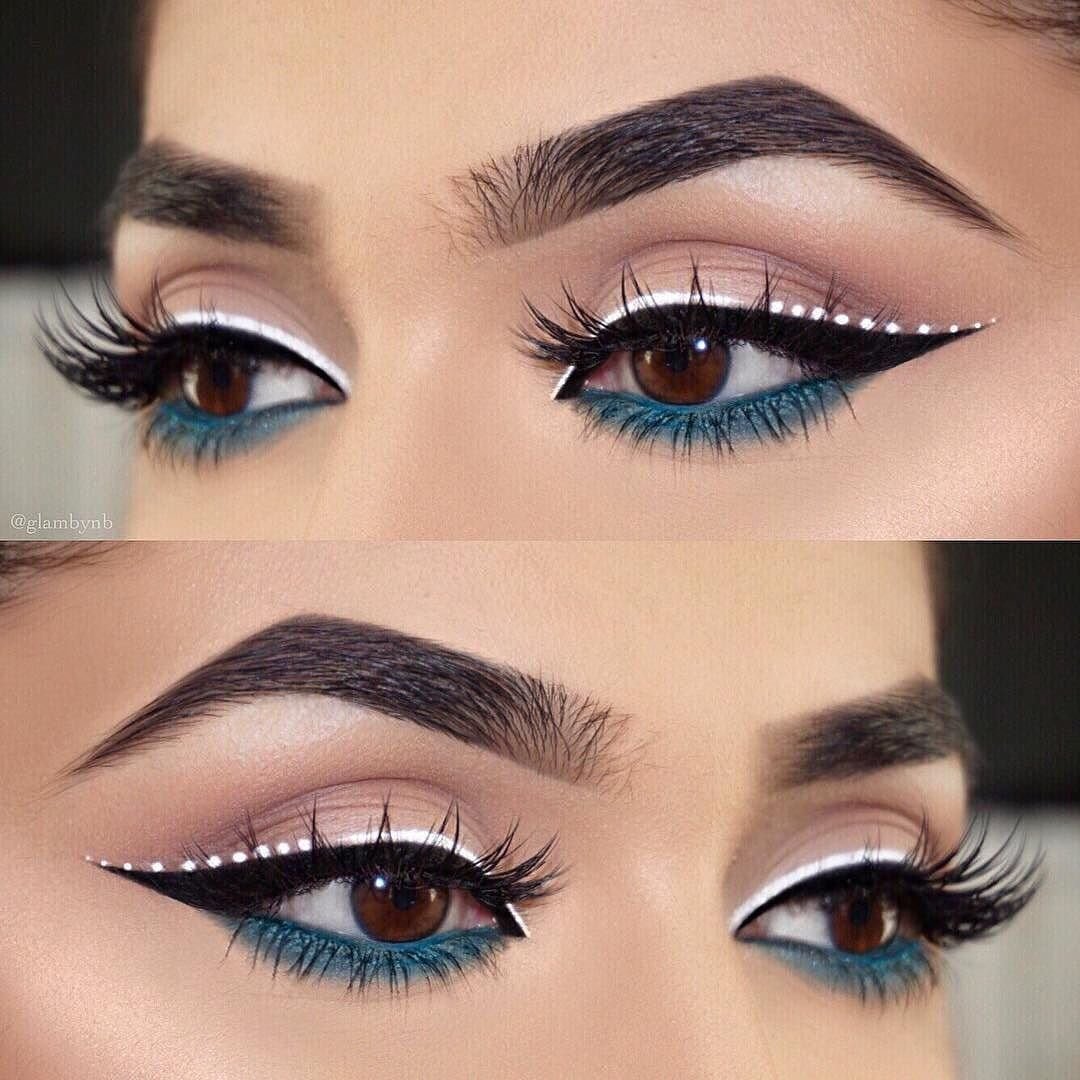
Image credits: Glam by NB
Wing It Right With These Eyeliner Tips
Use Help – One of the biggest and easiest eyeliner tips to get your wing right is to use help! Yes, there is nothing wrong with using a little stencil or even a stamp to get your winged eyeliner right. One of the easiest eyeliner tips is to use scotch tape or a business card to get that wing precise. Apply the scotch tape where you want your flick to appear outside your eye. Draw the wing line precisely, tracing over the tape. Trace along the edge with your liner of choice and voila - perfectly straight every time. Do remember that if you are applying tape, then do it before the foundation so that you don’t take off your base when you peel the tape. Also, peel the tape slowly when you are done as this is a sensitive area!
Do It The Other Way Round – What!? Yes, one of the biggest eyeliner tips to ‘wing’ that liner is to do your wing backwards. It may seem complicated but it can seriously make your life so much easier - just try it and you’ll see. So instead of tracing your entire lid and then drawing the tail, draw the wing first and then start moving inwards. That way you will have to just connect the wing to the liner. Once that mark is made, do the same thing for the connecting line - starting from the end of the wing line back towards your eyelid, aiming for the centre of your eye, closest to the lash line.
Always Support Your Hand – As professional makeup artists, we have to make sure that we get our strokes perfectly right. But that doesn’t happen in a day. So when you are starting off, one of the biggest eyeliner tips we give anyone is to support your hand that is doing the work. When you draw, you need to anchor or place your hand somewhere so that you get the line right. Makeup is the same. The easiest way to do this is to use your ring finger or pinky as an anchor. Depending on how many fingers you use to hold your brush or eyeliner pen, rest the last one or two fingers on your cheekbone. This allows the other fingers to do the eye lining with support. Now you can really get in there and draw a solid line without worrying about someone or something bumping your elbow and the whole thing becoming a big old mess.
Cheat A Little – There is nothing wrong with editing your wing once you have drawn it. It’s not easy to get cookie-cutter winged eyeliner right so it’s completely fair that you cheat a little. Draw your winged eyeliner on first and then use some Micellar water or any makeup remover to clean it up. Dip a cotton bud in some Micellar water and slowly wipe off the excess liner or trim the eyeliner the way you want it. One of the other eyeliner tips is to use a pencil liner first as its easier than a liquid or a gel to hold and then go over with the liquid after you are done. It's a LOT easier to tidy if you've made a mistake!
Use Proper Tools – Does your liquid eyeliner brush wobble when you move? As professional makeup artists, we get bombarded with questions on what brushes to use. We would say that one of the biggest eyeliner tips is to get the brush right. To get that bold, precise line an angled eyeliner brush is perfect. Use a gel liner with your angled brush to get your wing right. Angled brushes give you that little help you need to get those tiny strokes right.
Identify Your Formulas - While liquid liners seem like the easiest and most economical option, they are trickier to apply, especially if you are starting off. Identifying what formula of eyeliner works for you is one of the biggest eyeliner tips that you can ever get. An eyeliner pencil is easy but it won’t give you that jet black effect that you see. Eyeliner pens are another great option. These are easy to use and also give you that liquid liner effect. We also love gel eyeliners since you can use it with the brush you want, to get the desired effect. Formulas for gel liners are just as beefy, that is to say waterproof and lots of pigment delivery, as liquid liners and you don’t have to get frustrated if your liner pen ever runs dry, midway through lining your eyes. Does that happen to you too?
How To Ace Your Eyeliner Like A Beauty Blogger With These Secret Eyeliner Tips!
Image credits: Cosmopolitian
- Always use a sharp pencil to line your eyes. Dull pencils with flat tips at the end will only create a messy look.
- If your pencil eyeliner is crumbly, freeze it for 10 minutes before lining your eyes.
- Don’t opt for only black. Use your eye colour to identify your eyeliner colour options. Brown and navy blue are great for everyday wear.
- Don’t have a gel liner? No problem. Use a lighter to warm the tip of your pencil liner, test the pencil on the back of your hand and use it to line your lids for a gel effect!
- Get a simple smoky eye by drawing a hashtag on the outer corner of your eyelid and smudging it out with the sponge.


